How to Transfer and Burn iPhone Video to DVD to Watch on TV?
Summary: Do you know how to transfer videos from iPhone to DVD to watch on TV? No? If you are an iPhone user, the following are some best solutions for safely transferring and burning iPhone videos to DVD in an easy way.
With the advancement of technology, present-day smartphones are provided with high-quality cameras that stand equally on professional cameras' standards. This is relevant when we speak about the iPhone. If you are an iPhone user, you would know better along with capturing high-quality pictures iPhone also records high-quality videos.
If you have a lot of videos of your daily life captured with an iPhone, and you want to watch them on a DVD player, then you need to convert the digital files to DVD. When videos are stored on a disc, videos become secure, and the memory becomes free for more data storage. The following are some best solutions for safely transferring iPhone videos or just burn video to DVD in an easy way.
Step 1: Transfer iPhone Videos to PC
Before we delve into the actual process of burning your iPhone videos onto a DVD, the first step involves transferring your iPhone videos to a PC. There are two primary methods for accomplishing this, which differ depending on whether you are using a Windows PC or a Mac.
1.1 How to Transfer iPhone Videos to Windows PC
Transferring videos from an iPhone to a Windows PC can be done quite simply through Microsoft's Photos app or via Apple's iCloud platform.
Using Windows Photos App:
- Connect your iPhone to your Windows PC using the USB cable.
- Launch the 'Photos' App on your Windows PC.
- In the top right corner, click on 'Import' then choose 'From a USB Device'.
- Choose your iPhone device and click on Import.
- Now, all the videos are automatically synced between your iPhone and your computer.
Using iCloud:
- On your iPhone, open 'Settings', tap on your name at the top then go to 'iCloud'.
- Scroll down and tap on 'Photos'. Validate that 'iCloud Photos' is turned on.
- Now all your photos and videos will be uploaded to iCloud.
- On your Windows PC, open a web browser and login to www.icloud.com using your Apple ID.
- Click on 'Photos' and you will see all the photos and videos that have been uploaded from your iPhone.
- Select the videos you want to download and click the download button at the top of the screen. The videos will be downloaded to your Windows PC.
1.2 How to Transfer iPhone Videos to Mac
Transferring iPhone videos to Mac can be done through several methods such as using iTunes, using Airdrop, and using iCloud.
Using iTunes
- Connect your iPhone to your Mac using a USB cable.
- Launch iTunes on your Mac.
- Click on the Device button, and select your iPhone.
- Go to the left side menu and select 'Photos'.
- Check the box for 'Sync Photos', choose 'All photos and albums' or 'Selected albums'.
- Click "Apply", iTunes will automatically sync the videos and photos to your Mac.
Using Airdrop
- Switch on Wi-Fi and Bluetooth on your iPhone and Mac.
- Open the control center on your iPhone, tap on Airdrop and choose 'Everyone'.
- On your Mac, go to Finder then go to 'Go' > 'AirDrop' and set the option allow to be 'discovered by Everyone'.
- Choose the video you want to transfer and click the share button on your iPhone.
- Tap on 'AirDrop' and select your Mac.
- The video will be transferred to your Mac and can be found in the 'Downloads' folder.
Using iCloud
Mac users, just like Windows PC users, can also use the iCloud service to save and download videos from their iPhones. Please refer to the above-mentioned steps.
Step 2. Burn iPhone Videos to DVD
Once you've successfully transferred your iPhone videos to your PC, you are now ready to move forward to burn DVD Windows 10 or Mac. This next step is essential, as it allows you to preserve your videos physically and watch them on DVD players. So, without further ado, let's plunge into the best two ways to help burn your iPhone videos on a playable video DVD or a data DVD.
2.1 Burn iPhone Videos to DVD with DVDFab DVD Creator (Video DVD)
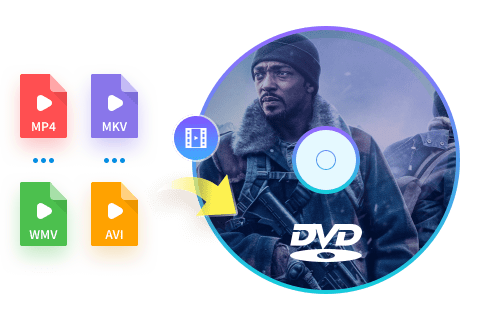
DVDFab DVD Creator is one of the best iPhone videos to DVD burner software that allows users to create DVD discs, ISO files, and DVD folders from almost any video format. It not only supports a wide range of video formats, but also offers flexible output choices and excellent output quality.
Besides, DVDFab DVD Creator also features a built-in menu library, enabling you to make DVDs for iPhone videos with elegant navigation menus. You can also customize DVD settings such as the playback order, subtitles, audio tracks and so on.
Available on:
Features:
- Make DVDs, ISO files or Folders from iPhone videos in 200+ formats, such as MKV to DVD.
- Output high-quality DVD-5/9, DVD+R/RW, DVD-R/RW, DVD-R DL, DVD+R DL.
- Boast built-in free and customized DVD menu templates.
- Auto synchronize the source meta info, such as the movie title, cast, and cover.
- Support batch iPhone video to DVD burning at GPU-hardware accelerated speed.
- Preview your iPhone video at any time during the burning process.
How to Use DVDFab DVD Creator to Burn iPhone Videos to DVD:
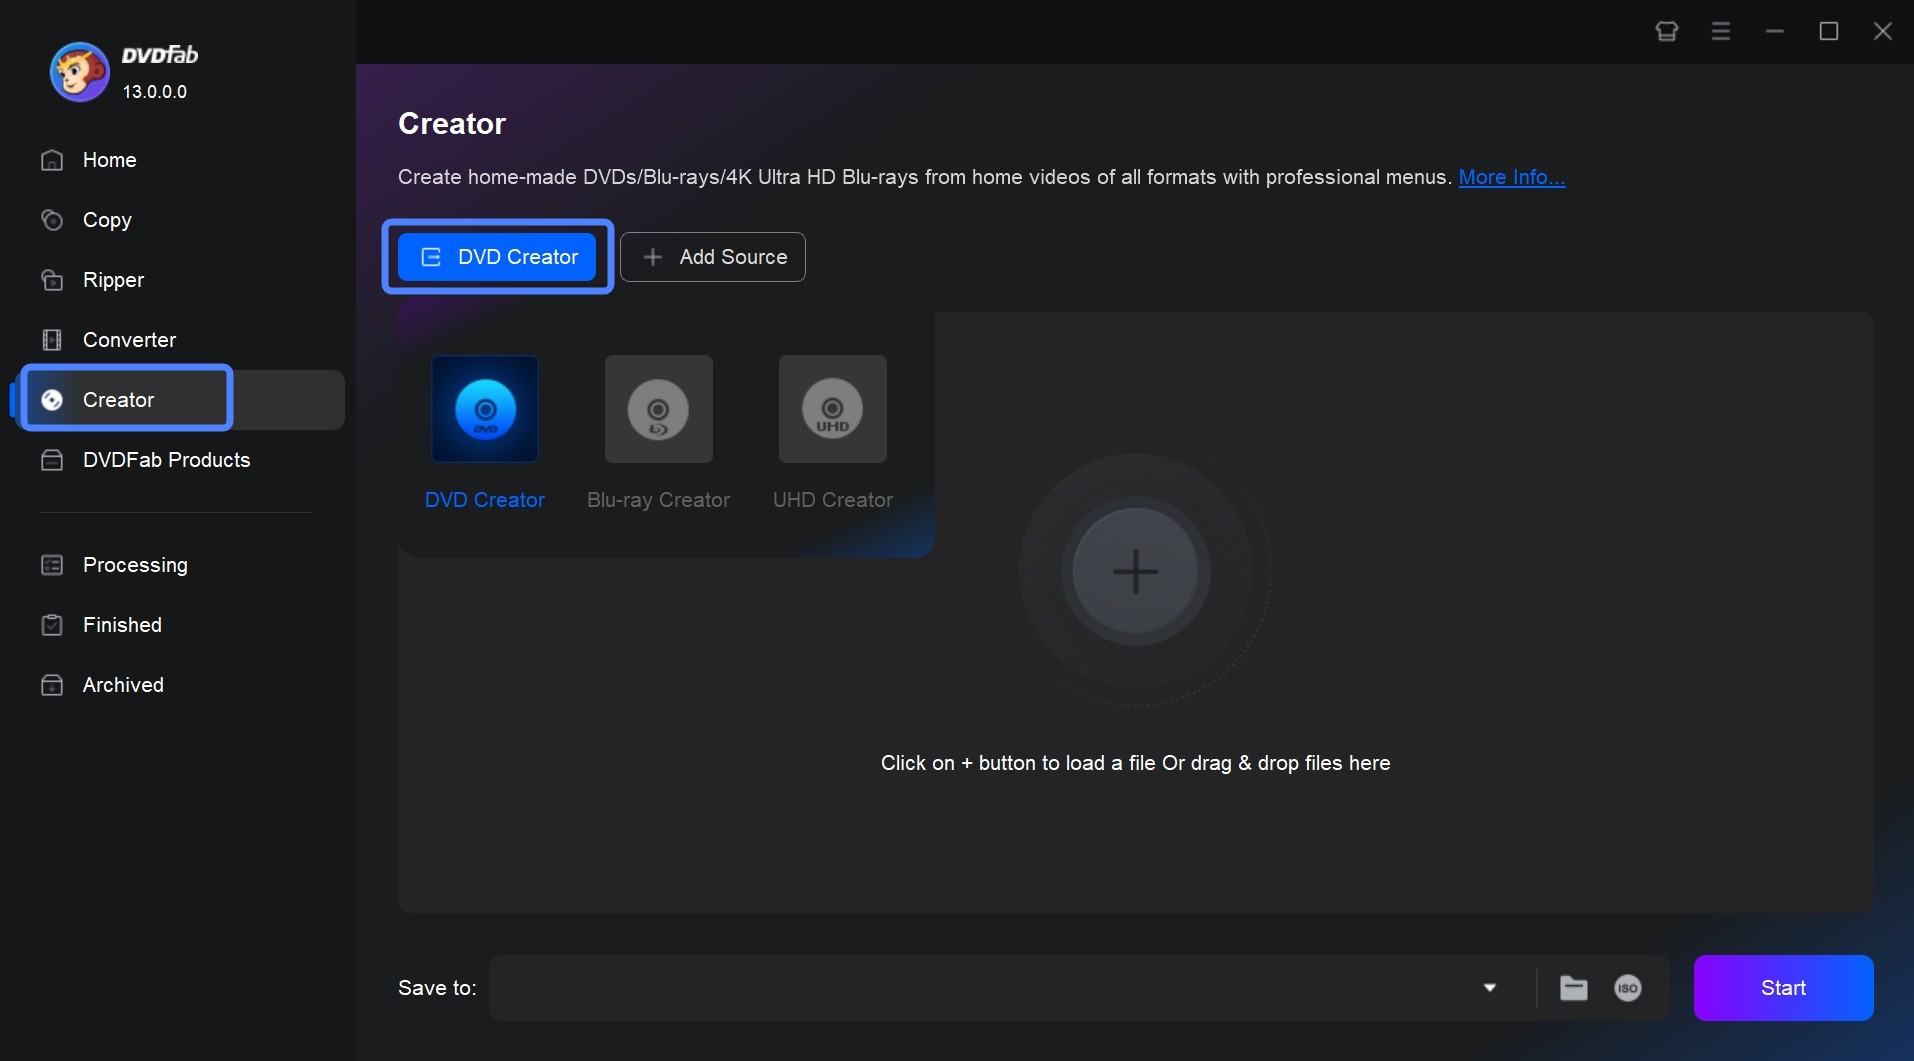
Step 1: Launch DVDFab DVD Creator and click on the 'Creator' module from the top menu. Click on the 'Mode Switcher' and choose 'DVD Creator' from the options. Now tap on '+' button or drag and drop your iPhone video files directly into the main interface.
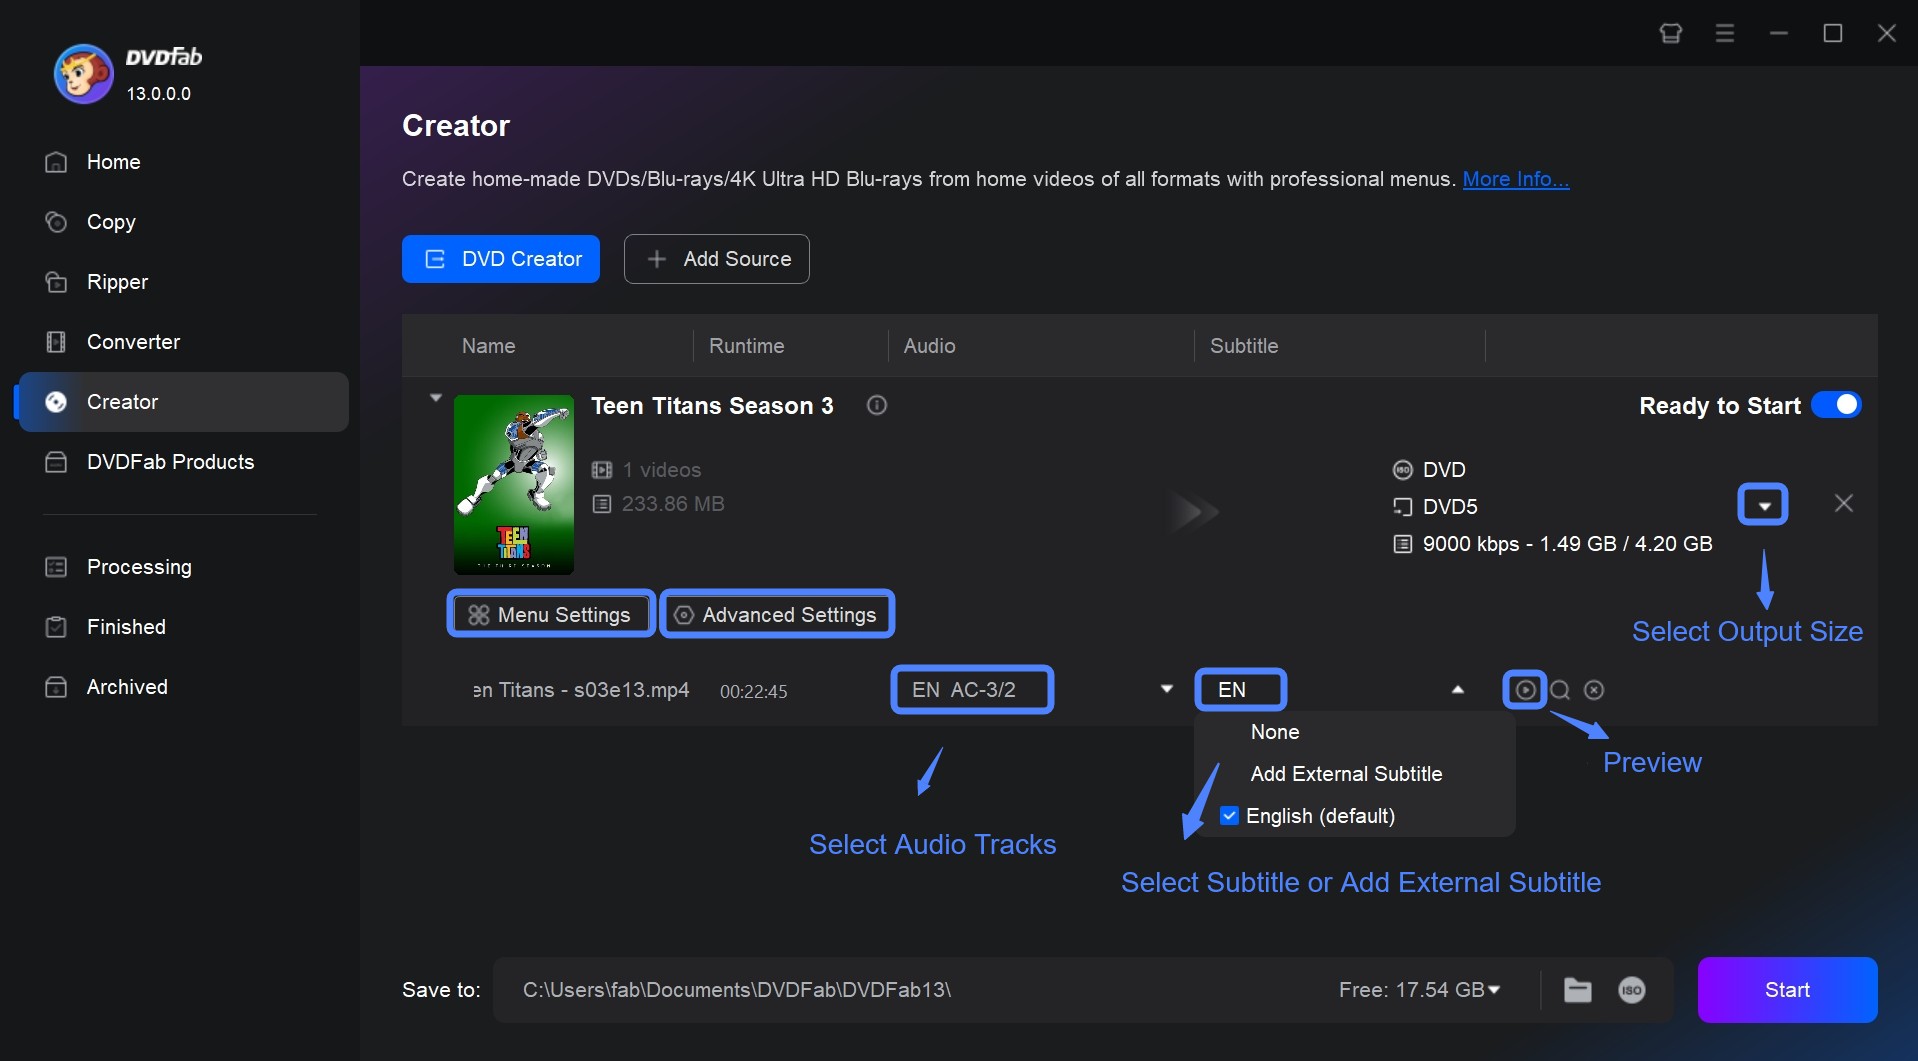
Step 2: After this, you can choose to add a DVD menu, select subtitles and audio tracks, or customize settings such as DVD volume label, output size, TV Standard, Aspect Ratio, and file path.
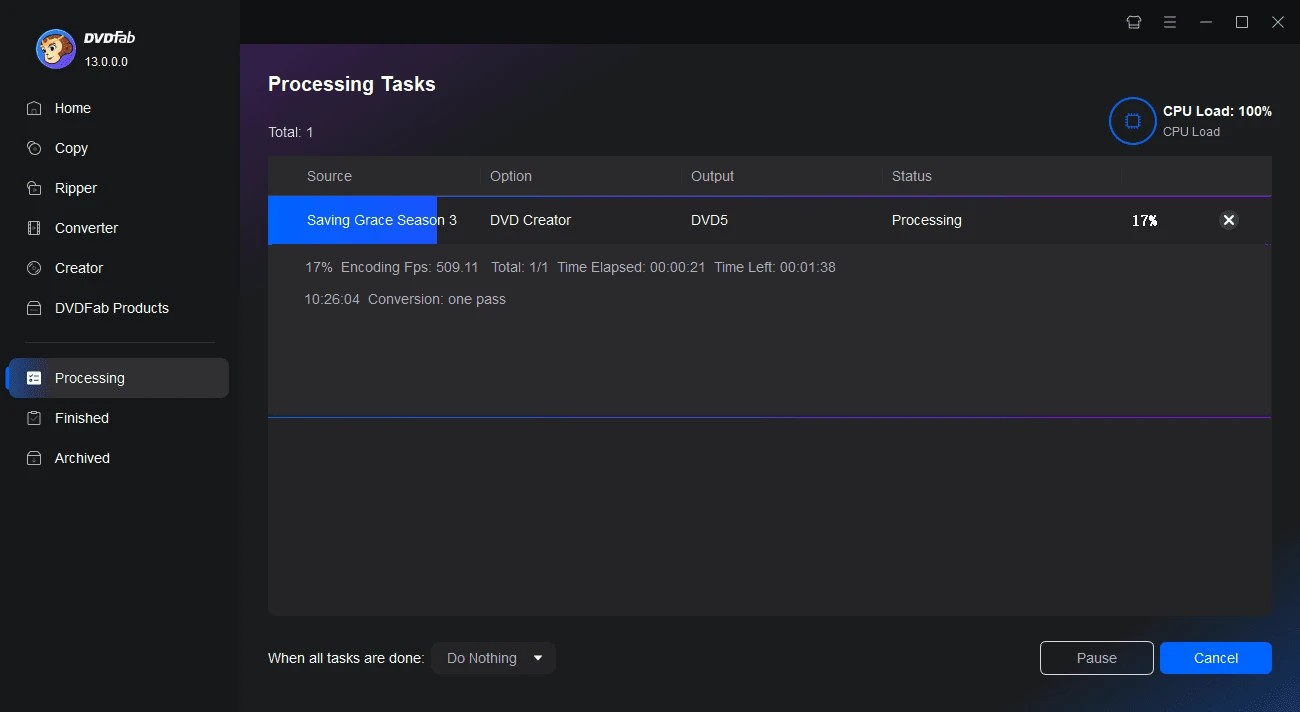
Step 3: Once you've made all desired settings, click the 'Start' button to initiate the iPhone-video-to-DVD burning process. The software will display the progress details including the remaining time and the percent completion.
2.2 Burn iPhone Videos to DVD with Windows Media Player (Data DVD)
After introducing how to burn DVD Mac and Windows from iPhone videos with DVDFab DVD Creator, we will now focus on another useful method – burning iPhone videos to DVD with Windows Media Player. This process creates a Data DVD, which will be suitable for those who prefer to use default apps provided by the system and do not need DVD menu navigation. However, please noted that a data DVD will not be able to be read by a standard DVD player.
How to Burn iPhone Videos to Data DVD with Windows Media Player:
Step 1: Find the Windows Media Player in your Windows device. Usually, you can find it in the Start Menu.
Step 2: After opening the media player, you will see several tabs on the top. Click on the "Burn" tab to get started.
Step 3: Insert a blank DVD into your computer's DVD drive to get ready for burning.
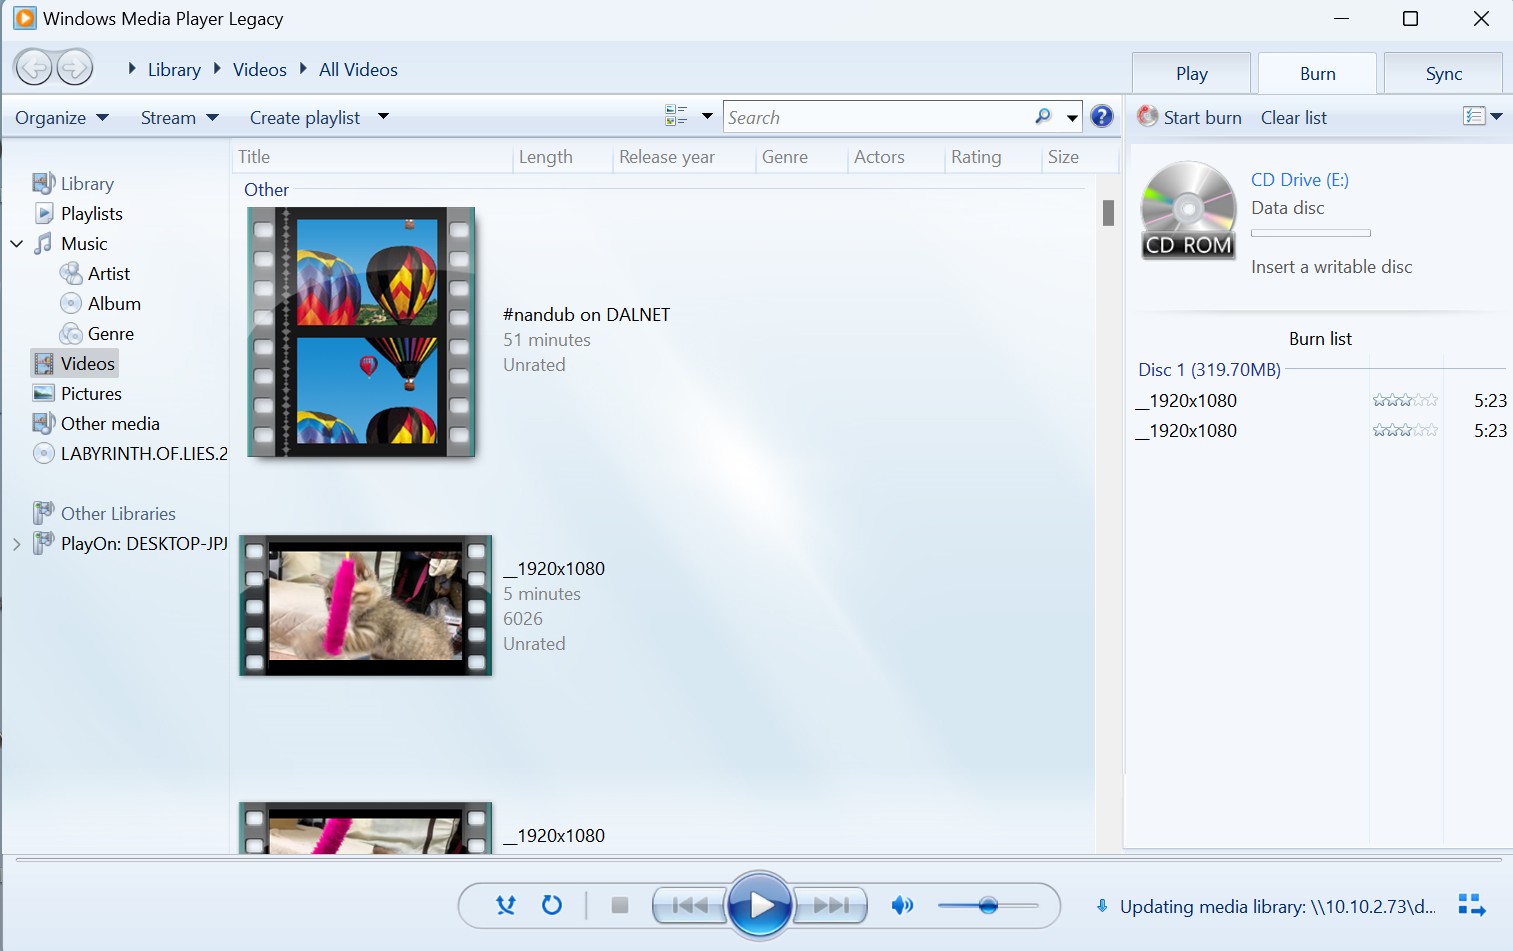
Step 4: In the player's library, navigate to the location where iPhone videos are kept. Drag the video files from the library to the burn list on the right side.
Step 5: After compiling all the required videos in the burn list, click on "Start burn". The process could take a while depending on the size of the videos.
Another Way: Buy Offline iPhone Videos to DVD Service
Besides using a DVD maker software, you can also commission a professional offline service to convert your iPhone videos into DVDs if you're short on time or do not want to do it by yourself. Here are some recommended companies that specialize in transforming your iPhone videos directly into DVD format.
Walmart
Walmart's DVD Transfer Service, in collaboration with YesVideo, is priced at $15.96 for the first 30 minutes, and $5.46 for each subsequent 30 minutes. They accept video formats such as MPEG1, MPEG2, WMV, AVI, and MOV. However, the order completion time could take between 3-4 weeks.

Walgreens
Similarly, Walgreens offers a service where you can transfer your iPhone videos onto DVDs. The cost is $19.99 for a media card and $9.99 for each DVD. They accept a range of video formats including MP4, M4V, MTS, 3GP, MOV, AVI, DV, MPEG, and WMV. The processing time is approximately the same as Walmart, which is approximately 3-5 weeks.
CVS
Lastly, CVS provides a comparable service starting at $25.99 for the first 90 minutes and $25.99 for each additional 90 minutes. The formats accepted and order completion time are equivalent to Walmart's settings.
While these iPhone video to DVD services provide convenience and professional support, they do have some drawbacks. Some of the main ones include being relatively expensive, having a lengthy completion time, a DVD duration limit of 2 hours, and potential compatibility issues related to iPhone memory cards. Therefore, it is always better to weigh the pros and cons before going ahead with your decision.
Conclusion
In summary, there are two primary methods for transferring and burning iPhone videos to a DVD. The first is a hands-on approach that requires you to manually transfer the videos to a PC, and burn them on a DVD using DVD authoring software like DVDFab DVD Creator. This gives you full autonomy and allows for customization. Alternatively, you could use an offline iPhone videos to DVD service, which might be costlier, but is undoubtedly hassle-free. Regardless of your choice, preserving your cherished memories on DVD is crucial.
 Can Blu-ray Players Play 4K Ultra HD?
Can I play 4K movies on my Blu-ray player? If you are wondering "Can Blu-ray plays 4K" and "Will 4K Blu-ray play on a regular Blu-ray player", you are on the right page! This post offers the optimal solution to watch your 4K movies on a standard Blu-ray player when you have no 4K Blu-ray player at hand. Read on for more details.
 How to Convert DVD to USB Flash Drive on Mac & Windows Easily?
Converting DVDs to USB offers a hassle-free way to preserve your collection or enjoy movies, videos, or critical data on-the-go without carrying bulky discs. Here, we’ll show you how to copy DVD to flash drive on Windows and Mac, as well as how to transfer DVD content via offline services without computer.
 How to Convert ISO to MP4 Free on Win & Mac? Try the 8 Best Ways
This article will guide you on how to convert ISO to MP4 formats, enabling you to enjoy your preferred media seamlessly on any device. Check the following 8 best ISO to MP4 converters including free and online tools and choose your preferred one.
 How to Remove Copy Protection from DVD Easily [2025 Update]
Removing DVD copy protection is frustrating, as it can prevent you from making backup copies or transferring them to different devices. This article will show you common types of DVD copy protection and how to easily remove them for personal use.