
How to Burn UHD Movies to 4K Blu-ray Disc on Windows & Mac?
Summary: Want to burn 4K movies to Ultra HD Blu-ray discs for seamless playback on your home theater or UHD Blu-ray player? You’re in the right place. In this guide, we’ll walk you through the step-by-step process of creating stunning 4K Blu-ray discs.
Table of Contents
4K Ultra HD Blu-ray is the preferred choice of home entertainment enthusiasts, offering unrivaled image quality and immersive sound. Despite the general decline in physical media sales, the 4K Blu-ray segment has shown resilience. In 2024, overall DVD and Blu-ray Disc sales declined by 26%, while 4K Blu-ray Disc sales grew by 10%, demonstrating consumers' affinity for high-definition content.
For movie enthusiasts, investing in a 4K UHD player and discs can be costly. However, if you already own a player, you can create your own 4K Blu-ray discs from digital movie files. With the right software, you can burn a high-quality, playable disc. This guide will give you step-by-step instructions on how to burn a 4K Blu-ray Disc on Windows and Mac.
Preparation for Burning 4K Blu-ray
File preparation
- 4K video files: Make sure the video resolution is 4K and the format is compatible (e.g. MP4 or MKV).
- Audio and subtitles: If you want multiple playback options, gather the necessary audio tracks and subtitle files. Formats such as DTS and Dolby Atmos are ideal for high-quality sound.
Hardware Requirments
- 4K Blu-ray Recorder: Make sure the burner supports BD-XL discs (for 4K UHD).
- Large Capacity Blank Discs: Use blank BD-50, BD-66 or BD-100 discs depending on the file size.
- External Drive Compatibility: If using an external burner, check that it is compatible with macOS and connects via USB 3.0 or later.
Settings and Optimization
- Bitrate Management: Balance bitrate and file size to avoid quality degradation or exceeding disc space.
- HDR Support: If your movie uses HDR10 or Dolby Vision, make sure the software preserves this metadata during encoding.
How to Burn 4K Blu-ray Movies on Windows
- Burn 4K Blu-rays from 200+ 4K video formats, including AVI, MP4, MKV, etc
- Retain HDR10 & Dolby Vision effects for 4K videos.
- Gain 20x faster burning speed with GPU acceleration.
- Create user-friendly .nfo file for media server.
- Burn 4K videos to blank BD100, BD66, BD50 or save as ISO/folder.
- Output 2016p Ultra HD video with DTS-HD, DTS:X, TrueHD, and TrueHD Atmos audio.
Step-by-step guide to burning 4K Blu-ray with DVDFab UHD Creator
First, download and install DVDFab 4K Blu-ray burner on your computer. Note that the Windows version is currently available, while the macOS version is still in development.
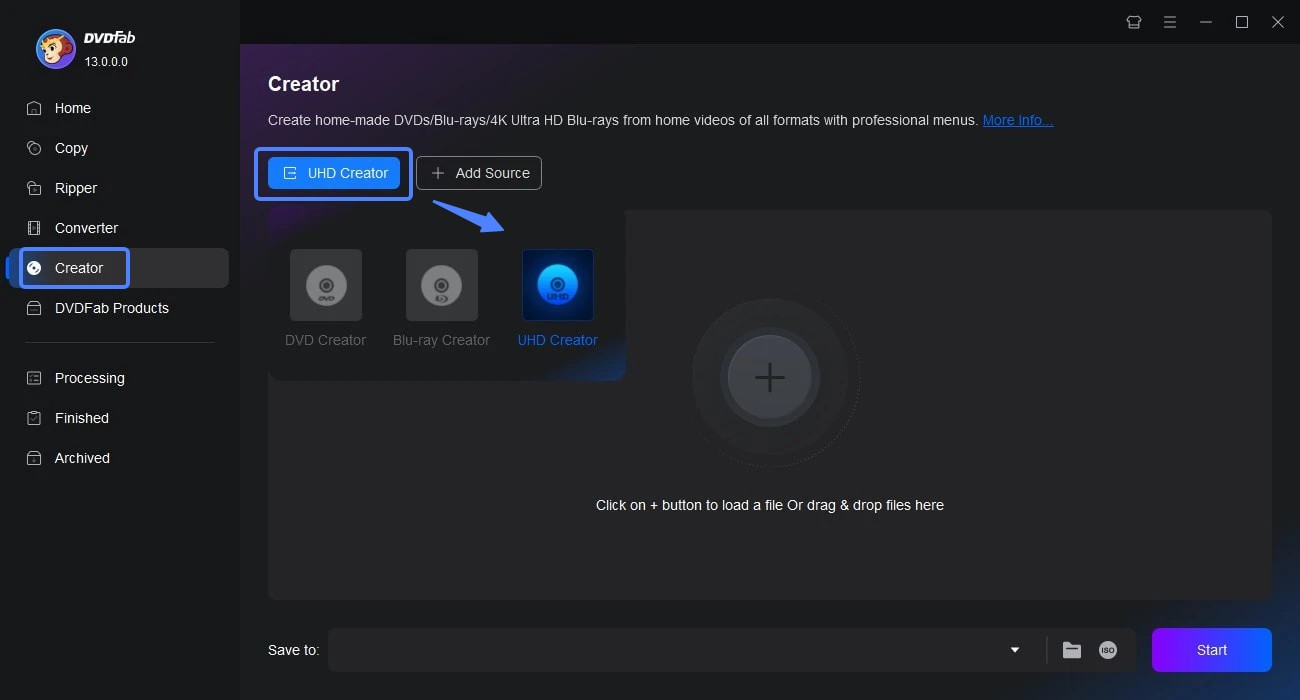
Open DVDFab 13 and go to the UHD creator module
Start by launching the 64-bit version of DVDFab 13 and navigate to the UHD Creator module. Use the "+" button to select your 4K video file or simply drag and drop it into the center area.
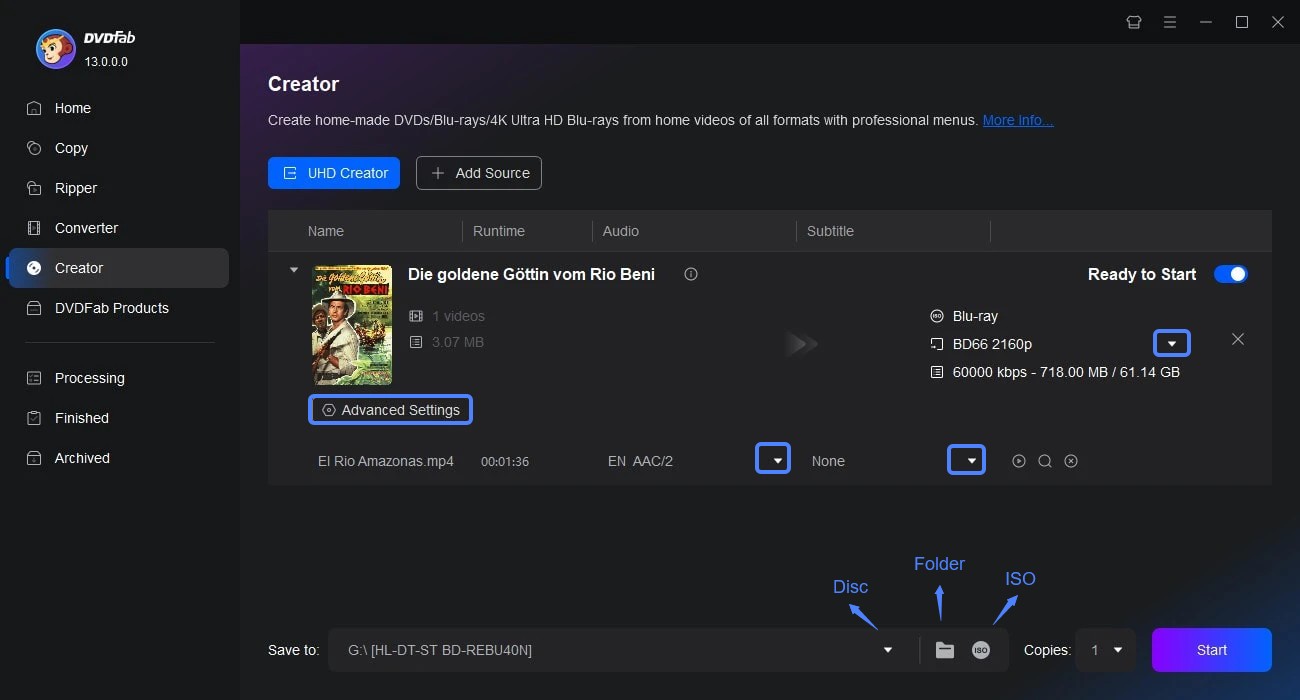
Customize your disc
Before burning, you can customize your 4K Blu-ray. Select the desired audio track, subtitles, or add external subtitles.
Click the Advanced Settings button to adjust important options like Video Quality and Processing Mode. Pay special attention to the Output option, as it determines the type of disc for burning.
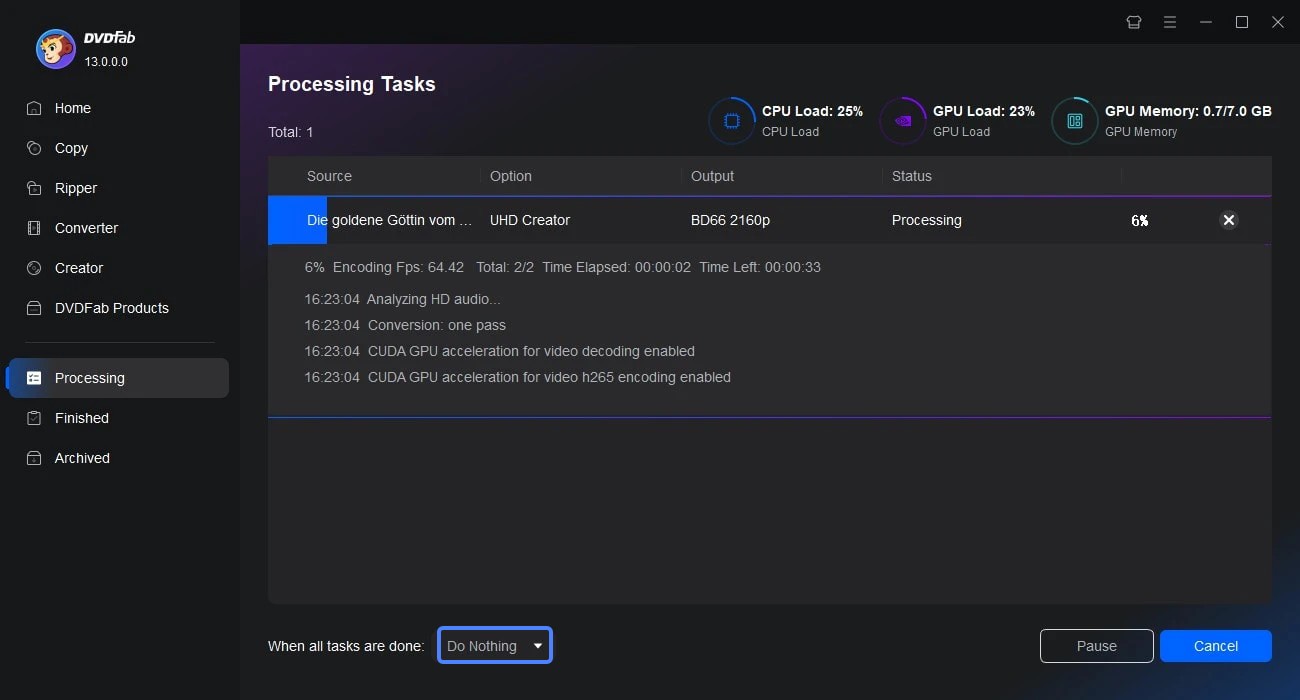
Start the burning procedure
Finally, it's time to decide whether to burn the 4K movie directly to a blank disc or save it locally as a movie folder or ISO image.
For the BD100 2160p option, the movie can only be saved locally. For other output options, you can burn the movie to a disc. Once you're ready, click Start and wait for the process to complete.
How to Burn 4K Blu-ray Discs on macOS
Leawo Prof. Media can burn 4K video to Blu-ray discs, preserving Ultra HD clarity and immersive audio effects. You can burn content to BD25, BD50 or BD100 discs. It also supports customized disc menus, allowing you to add a personal touch to your work.
Features of Leawo Prof. Media:
- Convert video between more than 180 formats, including 4K, HD, and normal video types
- Extract video and audio from Blu-ray and DVD with support for various output formats and settings
- Clone discs or backup content with no quality loss to preserve your media library
- Create high-quality slideshows from photos with music and special effects
- Convert 2D video to 3D 4K Blu-ray/DVD content with 6 different 3D effects
Step-by-step guide to burning 4K disc on Mac with Leawo
Download and launch Leawo Prof. Media
Install Leawo Prof. Media for Mac from the official website. After that, prepare a blank disc and insert it into your external Blu-ray burner.
Add and Edit Your 4K Video Files
Make sure your video file is in 4K resolution and the format can be MP4, MKV, MOV.
In the main interface, select the Blu-ray Creator module and add your 4K files. You can add multiple videos if needed.
Set Disc Type, Quality, and Menu
Select the disc type (BD-25, BD-50, BD-66 or BD-100) and set the quality to match the 4K resolution. Additionally, you can add menus from templates or create your own.
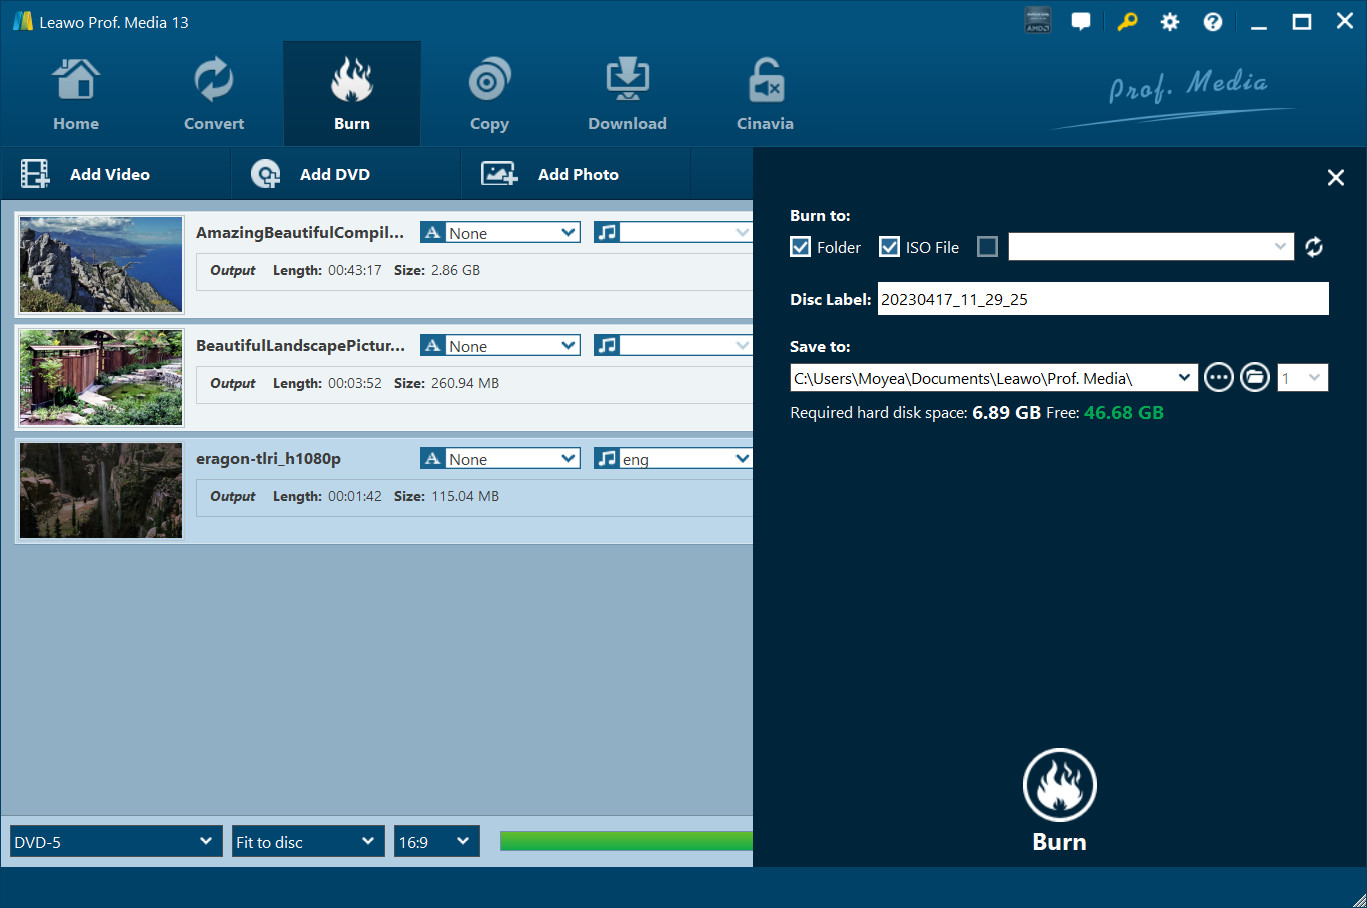
Burn the 4K Blu-ray Disc on Mac
After previewing the video, please select the output format ( it can be saved as an ISO or DVD folder), set the disc label, and choose the output location. Finally, click the Burn button.
Conclusion
In summary, with the right software, burning 4K movies to discs that play seamlessly on your home theater or Blu-ray player is a simple process. Professional tools like DVDFab UHD Creator make the task easy and efficient. Give it a try and enjoy high-quality 4K playback on advanced devices.
 QLED vs. UHD: Which TV Technology Is Better in 2025?
QLED and UHD aren't opposing technologies. In fact, most QLED TVs today are UHD by definition. Understanding the difference between these two terms is essential when choosing your next TV. In this guide, we’ll break down both concepts, compare them side by side, and help you determine which one fits your viewing needs best.
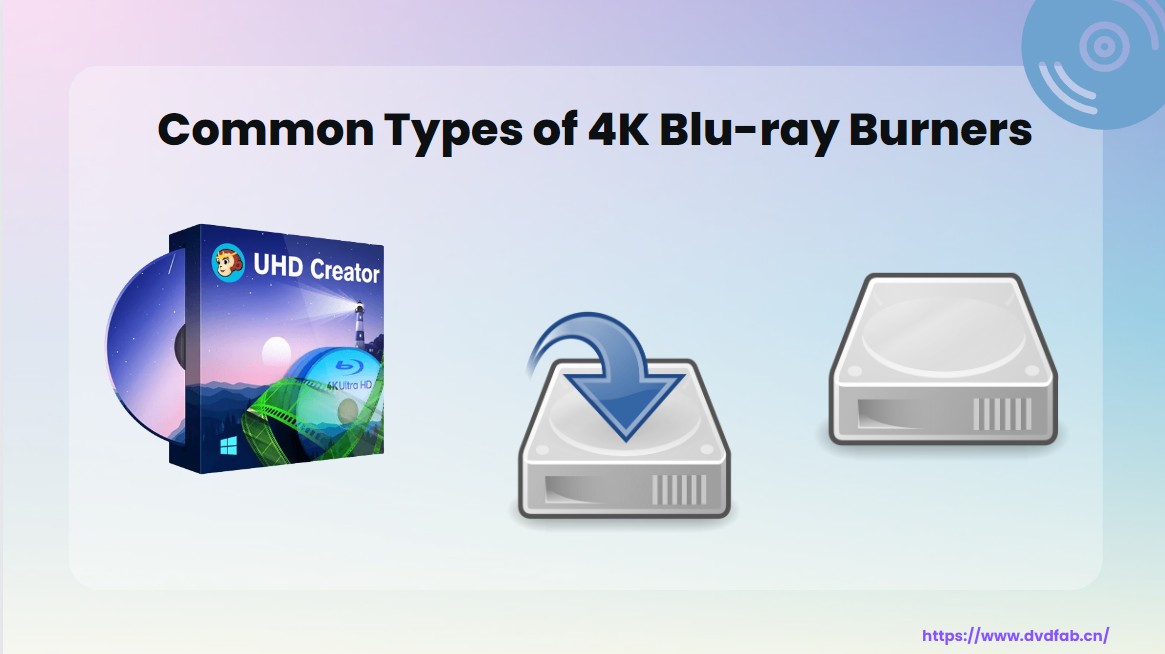 Common Types of 4K Blu-ray Burner You Must Know [2025 Updated]
This article aims to give you a full picture of the common types of 4K burners. With the best 4K Blu-ray burner, like DVDFab UHD Creator, at hand, you can get standard 4K UHD Blu-rays for a truly immersive viewing experience.
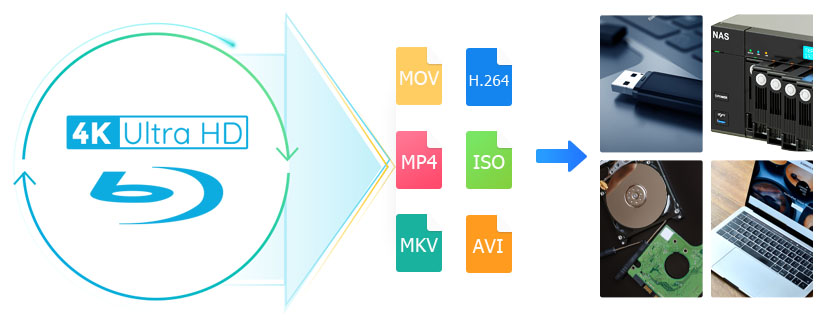 How to Rip 4K Blu-ray Disc with Lossless Quality on Windows & Mac?
If you want to enjoy 4K UHD movies without investing in a specialized player, then you can choose another way, which is to rip 4K Blu-ray discs and watch them on your existing devices, such as 4K TVs or monitors. What you need is an efficient 4K Blu-ray ripper that allows you to enjoy high-quality movies without purchasing additional equipment.
 How to Burn Videos to 4K Ultra HD Blu-ray with Retained Dolby Vision?
With a professional UHD burning software, you can easily burn videos to 4K Ultra HD Blu-rays that can be played on any 4K Blu-ray player. Now check out how to burn videos to 4K UHD Blu-ray using the best creator.