Six ways to Sharpen in Photoshop: Steps & Alternative
Summary: When you have a perfect shot with a blurry image, Photoshop sharpening techniques can get a crystal clear image with multiple options of sharpen in Photoshop.
Table of Contents
Introduction
While capturing random moments with your mobile phone, you hardly care about the technicality of photography. All you care about is the appeal and appearance of the image. On the contrary, in professional photography, clicking moments are about the right aperture, contrast, lights, and so on.
However, in both the cases of casual mobile photography and professional photography, all you look up to is to have a frame-perfect image without any blurriness or digital noise. So thankfully, with the advancement of Photoshop Sharpen technology, you can remove any imperfections of any image with a few clicks and steps.
What does Image Sharpening Stand For?
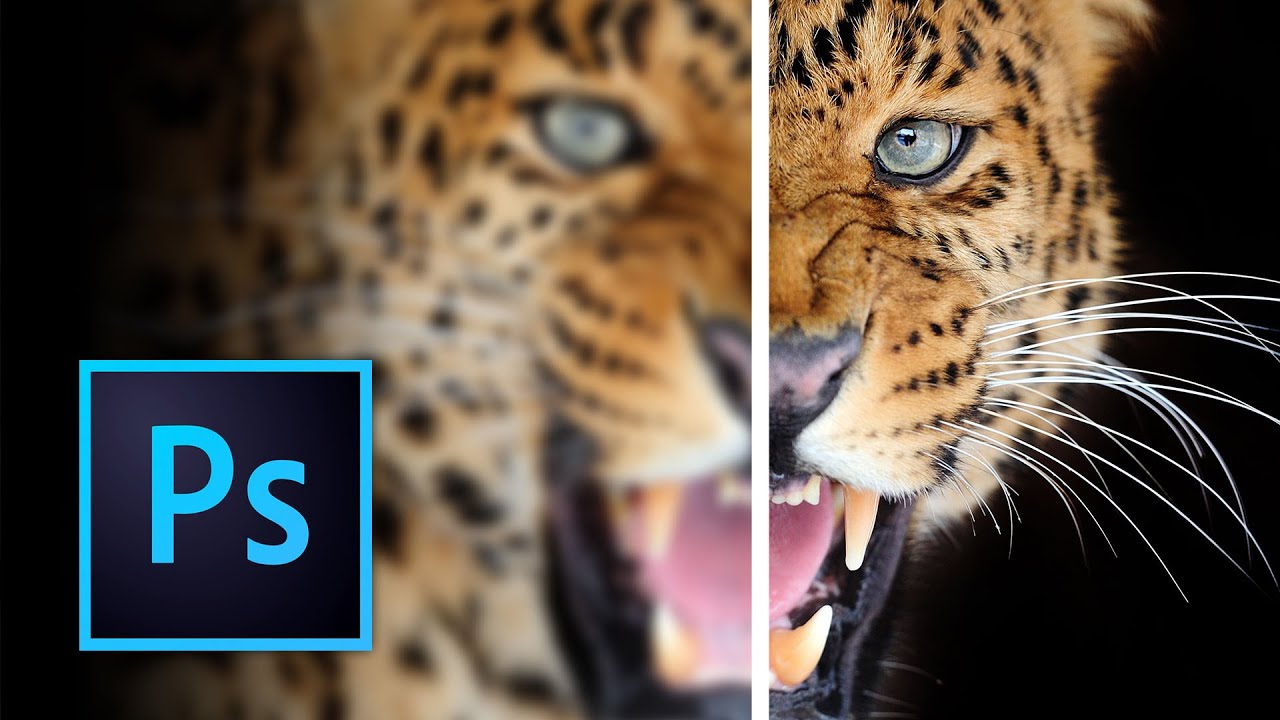
In simple words, image sharpening is an image quality enhancement process that highlights the minute details and edges of the image by increasing the local contrast. The concept of image Sharpening involves mainly two parameters:
An objective factor: It refers to the resolution of the picture. The higher resolution indicates more pixels in any image, leading to a sharper image.
A subjective factor: It refers to the acutance of an image. Your visual perception is very sensitive to the fine details and edges of an image consisting of high-frequency components, better known as the image's contrast. So, by increasing the image's contrast you can define the edges and fine detail of any image to make it more clear and crispy.
What is Image Sharpening meant for?
When you know the basic concept of image sharpening, you must know when and why you need to apply this technique. Once any image is captured there, the number of pixels in the resolution is fixed. This objective factor of any image can not be changed. While increasing the file size, you can enlarge the image, but it will make your image hazier by reducing its sharpening of the fine details of the image.
In that case, the only option left to enhance any image quality is to increase the acutance of the image by adding contrast. So, this is what image sharpening is meant for to give depth and clarity to any of your blurry, or out-of-focus images and make them pop out with professional perfection.
How to sharpen an image in Photoshop?
Since Adobe Photoshop is one of the most commonly used image editors, compatible with all devices and platforms, it will be convenient to use this tool to sharpen your images. So, let's start with the steps of how to sharpen an image in Photoshop using multiple filters.
Using Unsharp Mask Filter
In the Photoshop sharpening technique, Unsharp Mask Filter is best for high-resolution images like scanned photos, digital camera photos, etc. It sharpens the images by increasing edge contrast from one edge to another.
Step 1: While heading to the Photoshop app in your system, move to the "Layer Panel" to select the photo layer and select "Filter Manu" > "Convert to Smart Filters."
Step 2: To apply "Unsharp Mask Filter," you must select "Sharpen" under Filter Manu and then select "Unsharp Mask."

Step 3: When the "Unsharp Mask" dialogue box is opened, you can adjust your desired sharpening effects using the slider.
Step 4: Using the "Amount Slider" you can set the strength of the sharpening effects. You can use "Radius Slider" to set the sharpening effects of width at the objects' edges. With the "Threshold slider," you can minimize the sharpness of any element you don't want to highlight in your image.

Step 5: You can also use the "Zoom tool" under the Tool panel to zoom any image 100% to see the accuracy of the sharpness.
Using Camera Raw Filter
In the Photoshop sharpen process to adjust any image's contrast, brightness, and saturation, the "Camera Raw Filter" works best.
Step 1: After opening the Photoshop application on your system, head to the "Filter Menu" > "Camera Raw Filter."
Step 2: Camera Raw Filter dialogue box will be opened & you must select the Sharpness Tab.
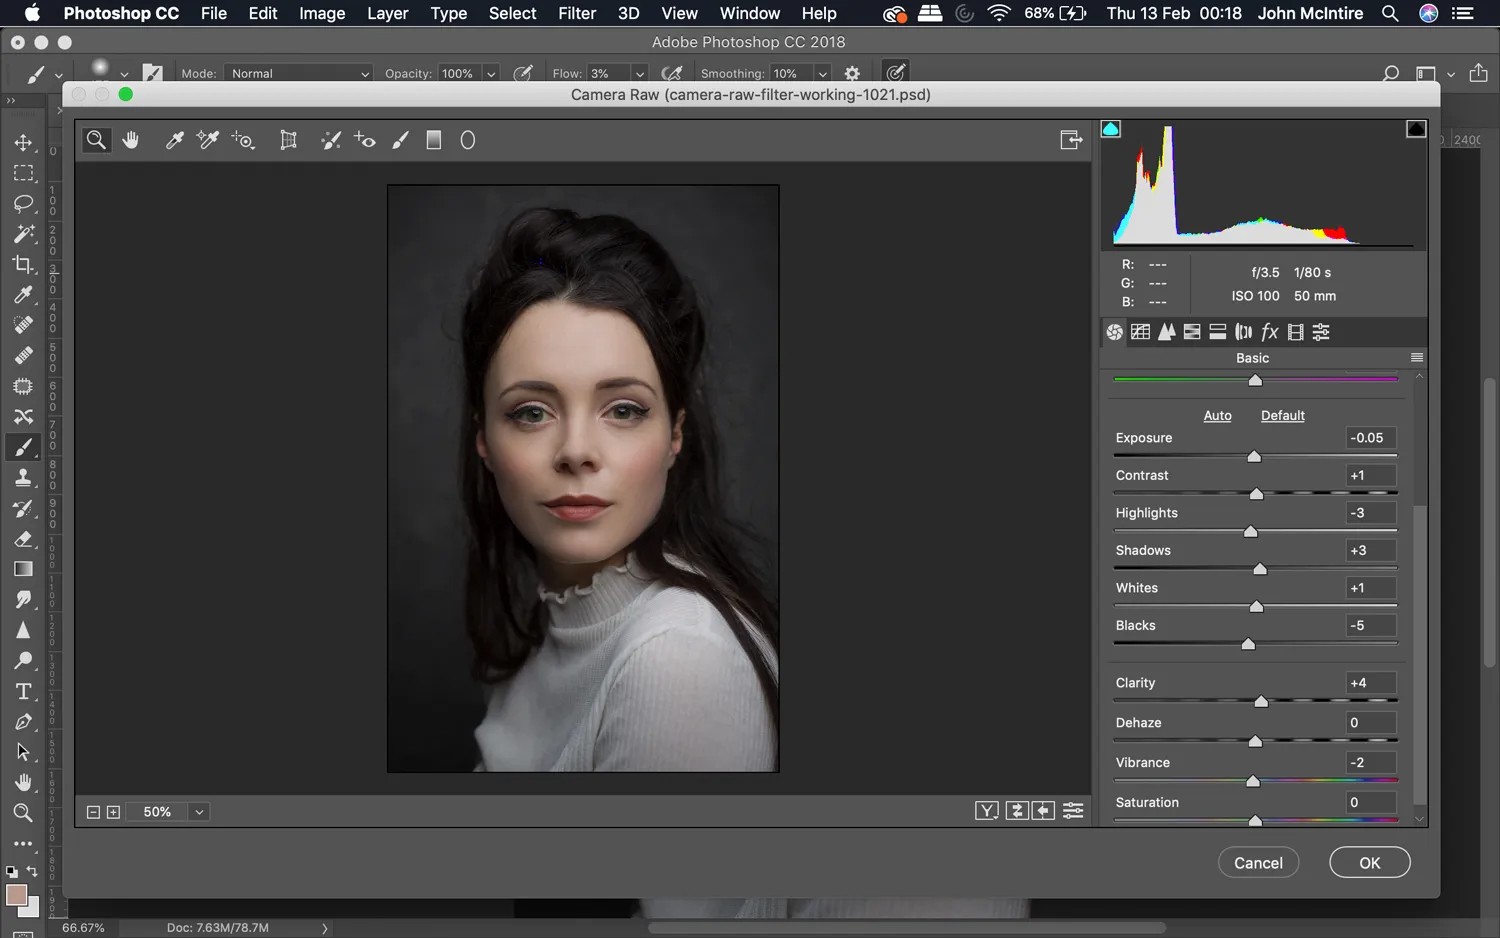
Step 3: While using the given slider, you can adjust your sharpening & you can select the preview option to check your selected sharpening effects.
Using Smart Sharpen
To sharpen in Photoshop, the "Smart Sharpen" filter is the best way to control shadow, highlights, etc., to sharpen any blurry image. With this filter, you can try multiple settings to get perfection in your image sharpening.
Step 1: In the Photoshop app head to the "Layers Panel" and select any "Image layer"/ "Background". Next, press Ctrl+J on Windows/ Cmd+J on Mac to make a copy of the image. Then right-click on the copy image > "Convert to Smart Object."
Step 2: Move to the Filter> then Sharpen> then Smart Sharpen, and in the opened dialogue box, move to the "Preset Menu" > "Default."
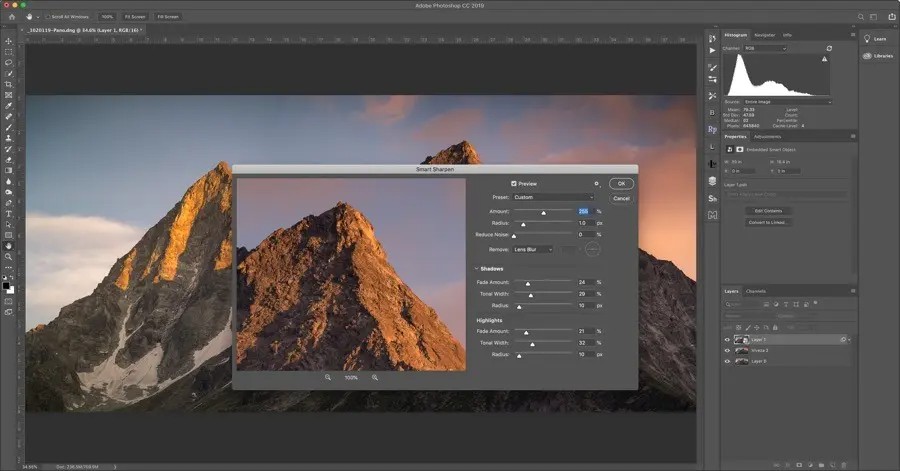
Step 3: To see the entire sharpening effects, you must lower the "Reduce Noise Slider."
Step 4: You can use "Amount Value" to strengthen sharpening and "Radius Value" to reduce halo effects on the sharp edges. Under the "Highlights" section, you can use Radius, Fade Amount, & Total Width Value to adjust any over-sharpening on any image.
Step 5: While going to the "Preview" option, you can compare the original and sharpened image versions.
Using High Pass Filter
While Photoshop Sharpening, using High Pass Filter is the smart option with one setting when you don't want to try different sliders.
Step 1: To convert the image layer into a smart object select Menu> Convert to smart object. Next, from Filter, select High Pass Filter> Other > High Pass, and the image turns gray.
Step 2: To adjust the Radius value to highlight the edges of images, you must set the "Radius Scale" to the minimum and select OK. With this setting, you can add grayscale to the image.
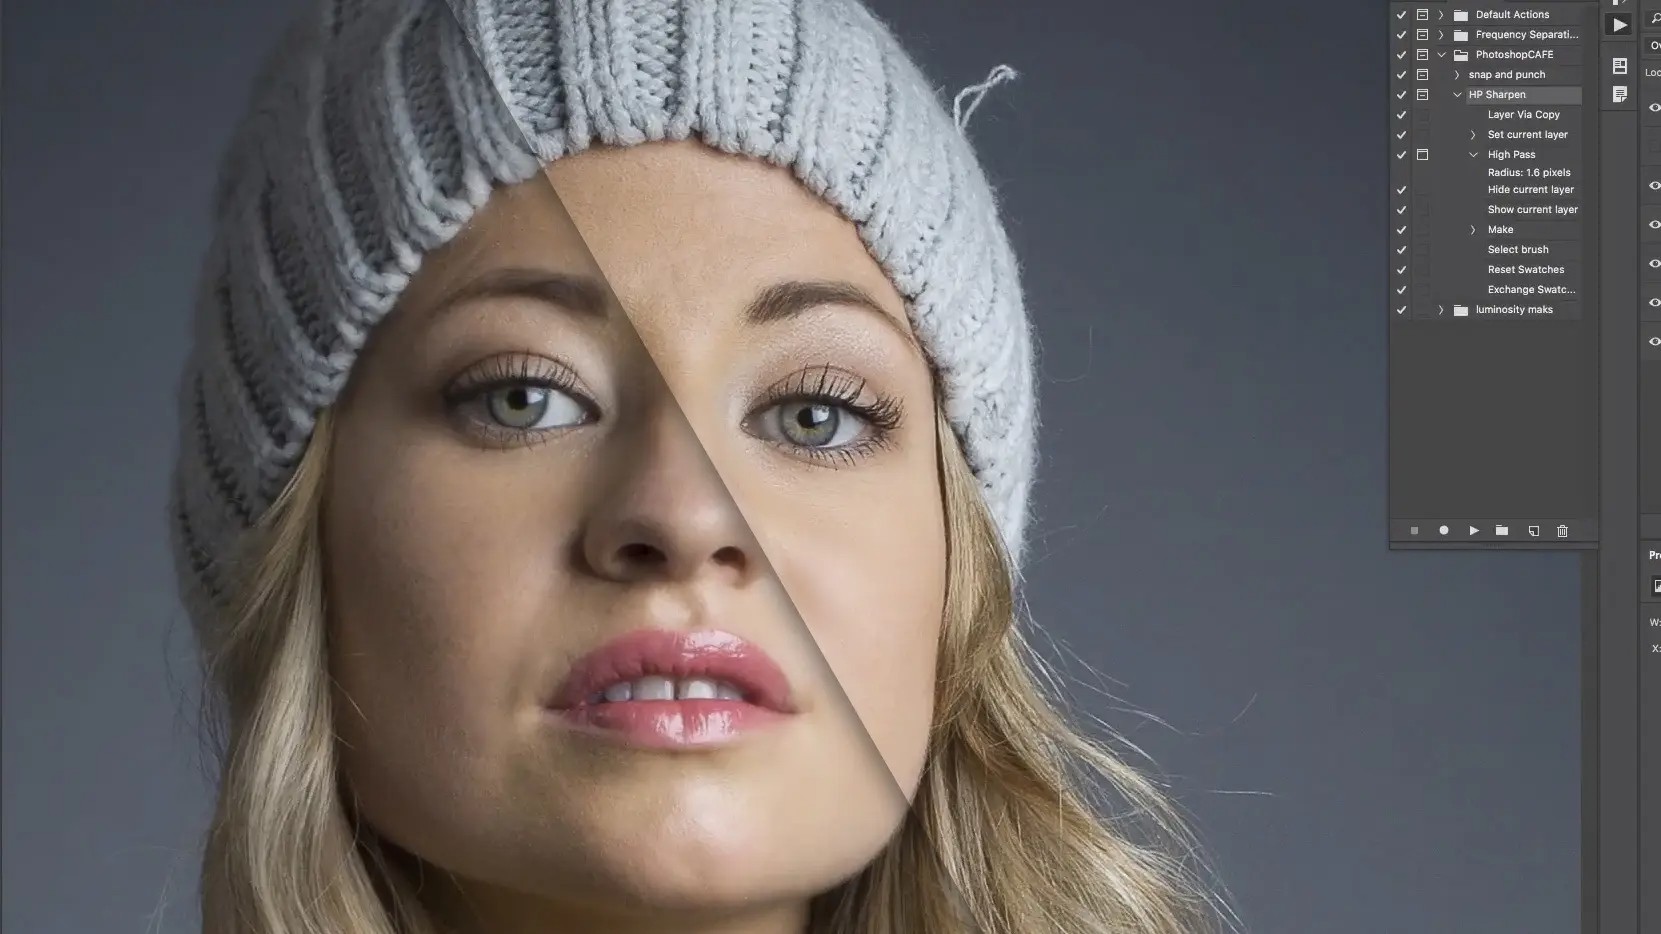
Step 3: To change the blending mode of your photo, you can use overlay/ hard light/ soft light/ linear light.
Step 4: While doing this, you can witness the sharpness of the image and the specific area you need to work on. Select OK to save the final output.
Using Shake Reduction Filter
As the name suggests, this Shake Reduction Filter helps to reduce blurriness in the photo caused by camera motion shaking like rotational, zigzag, linear, etc.
Step 1: Go to the Filter > Sharpen > Shake Reduction. Next, the photoshop app automatically determines the area that needs shake reduction, and by analyzing the nature of blurriness, this filter will correct the image appropriately.
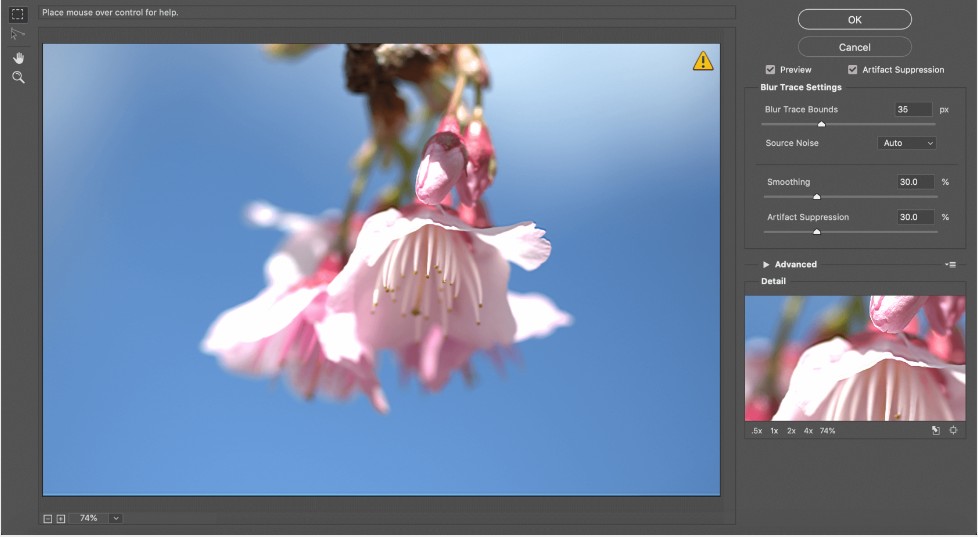
Step 2: In the Shake Reduction dialog box, you can see the corrected image, and here you can also try other adjustments.
Using Sharpen Tool
To sharpen in Photoshop, this Sharpen tool is best to increase contrast to the edges of the images.
Step 1: Since this tool is not visible in the app, you have to press and hold the Blur Tool to make the Sharpen tool appear.
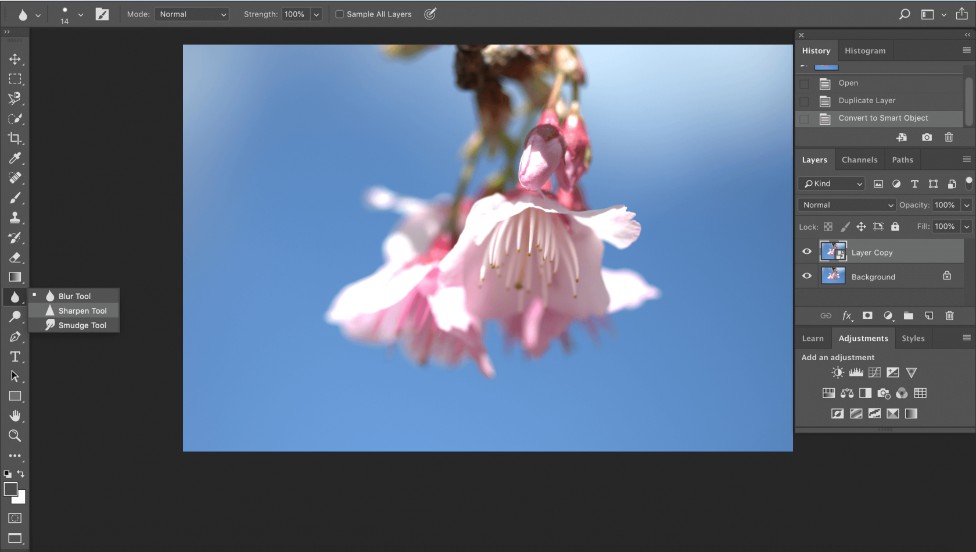
Step 2: Select Brush Tip to set the blending option mode and strength. Next, go for the "Sample All Layers" option to sharpen all visible layers.
Step 3: If this option is not selected, the Sharlen Tool works only on active layers. Go for "Protect details" to enhance the image while reducing pixelated artifacts. You can avoid this step if you like dramatic sharpening.
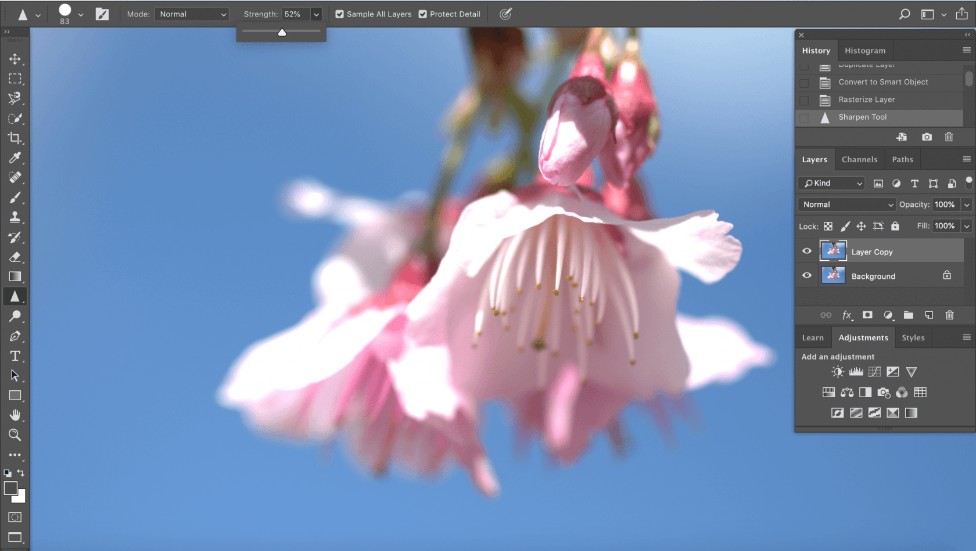
Step 4: Drag over the portion of the image you like to sharpen and get rid of the blurriness of the image.
While using the Photoshop Sharpening method, you will not be sure of the quality of the image sharpening effects unless and until you use another high-end alternative to this software and compare your experiences and results of both tools side by side.
What is the best alternative to the Photoshop Sharpen tool?

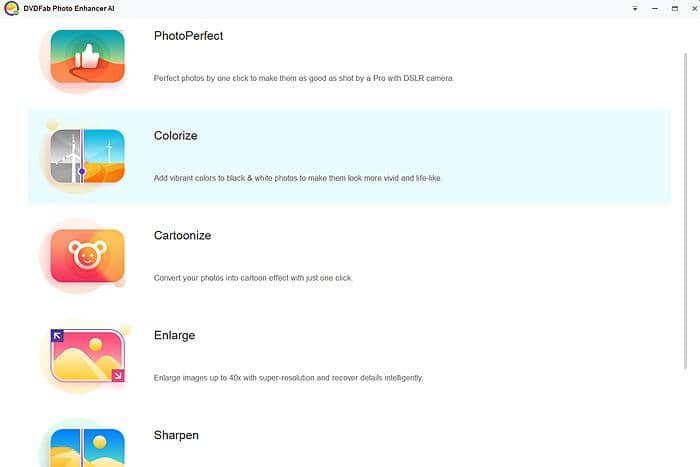
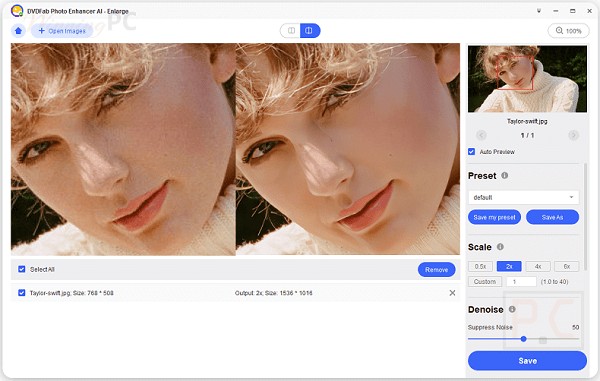
When you search for image sharpening, too, you will end up having an endless list of image enhancers. However, neither you can try all of them nor all of them are worth trying. So, to make your search job sorted, you must try another advanced AI-based high-end image sharpening software DVDFab Photo Enhancer AI. With this tool's automatic image sharpening algorithm, you can get a DSLR clarity image with a few clicks out of any of your damaged, blurred, or poor-quality images.
What tool should you pick for your preference?
There is no doubt that Photoshop has established its reputation by showing its consistent efficiency in the photo editing industry. However, while using this tool for my photo sharpening purpose, I have faced certain challenges and a few limitations. Therefore, when I switched to the most trendy image sharpener DVDFab Photo Enhancer AI, it made my job more hassle-free and flexible. So, let's have a glance at what kind of difference I have faced using both these tools.
|
Photoshop |
DVDFab Photo Enhancer AI |
|
|
|
|
|
|
|
|
|
|
|
|
|
|
|
How to sharpen images with DVDFab Photo Enhancer AI?
When you need an instant image sharpening process to get professional perfection to your image, here you go with the automatic image sharpening steps of DVDFab Photo Enhancer AI.
Step 1: Once you are done installing the software on your system, you should open it to select your desired modules.
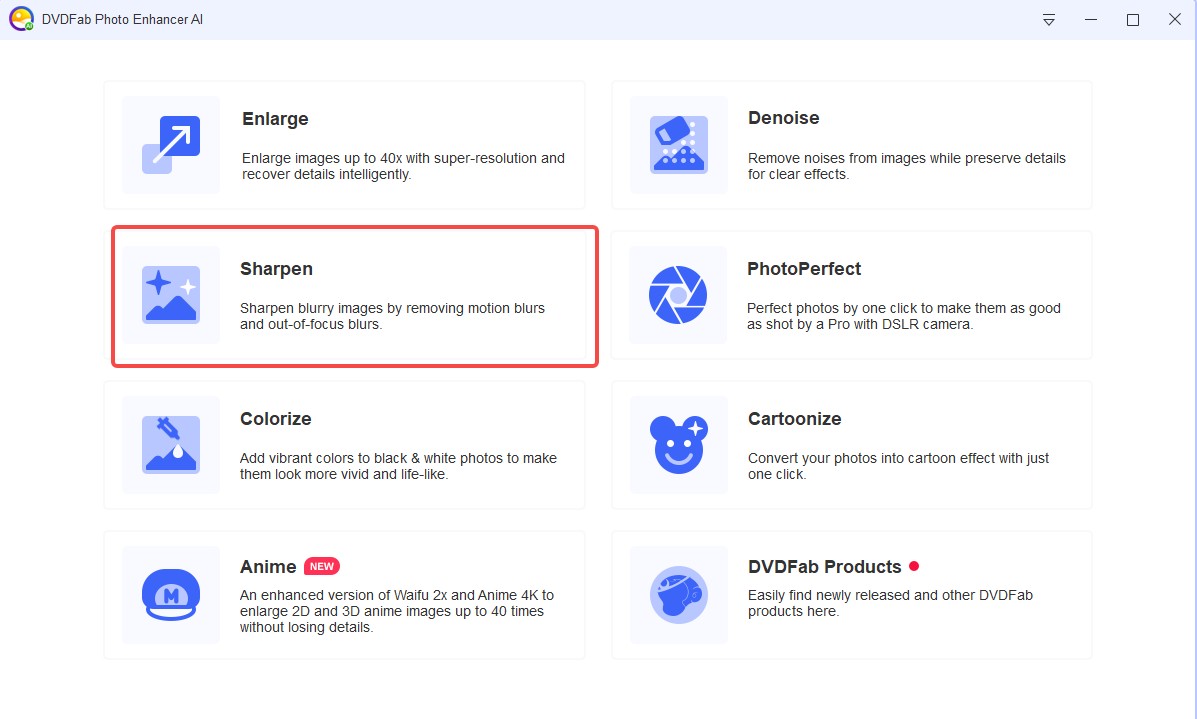
Step 2: Either you can upload your image file to the software, or you can use the drag & drop option to add the image into the "+" symbol.
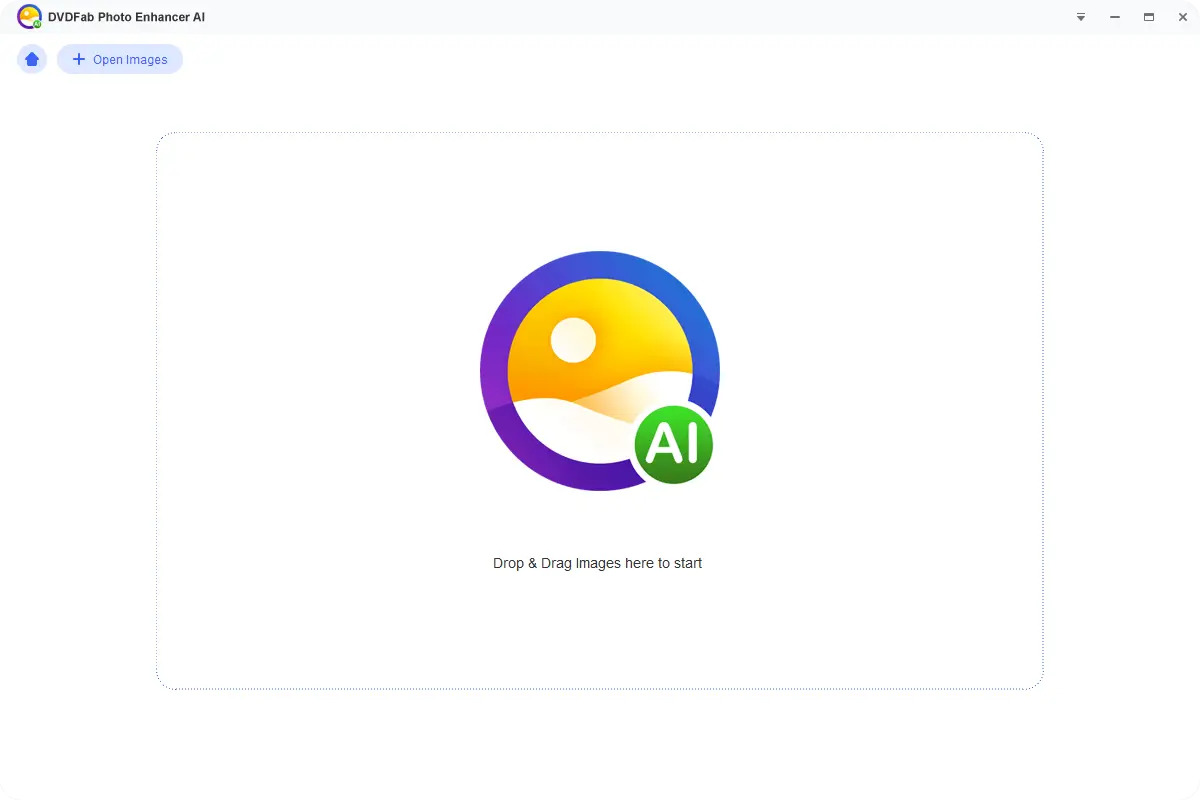
Step 3: Go for the "Settings" option to customize the output profile. You can also preview the image before saving your final changes.
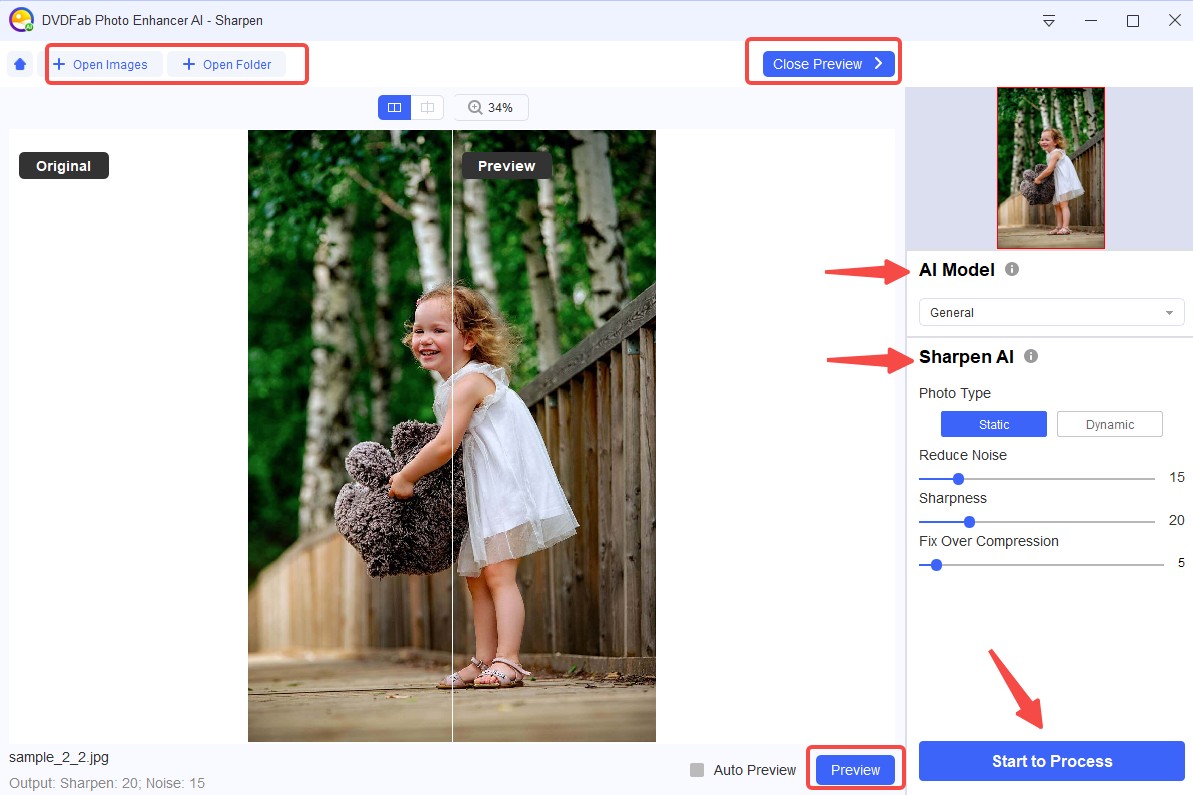
Step 4: Select "Start to Process" to initiate the image sharpening process. You can save the sharpened image to your device's local storage, or you can share it on the internet.
Final Feed
When you look for the best way to sharpen in photoshop, the above-mentioned multiple methods would certainly meet your image sharpening requirement with perfection. While selecting the photoshop sharpening option, you must be sure what kind of sharpening you want for your image. On the other hand, if you don't want to spend your time, energy, or effort on the manual image sharpening process, DVDFab Photo Enhancer AI is a one-stop shop with automation in perfection.

