How to Screenshot on Lenovo Laptop, Thinkpad, Chromebook, and More?
Summary: Taking a screenshot on a Lenovo laptop is easy, whether you want to capture the whole screen or just a portion of it. Here's how to screenshot on Lenovo laptop with third-party screenshot tools. So, read on to learn more.
Table of Contents
Introduction
Wowww!!! You've just seen the most amazing thing online, and you want to capture it for posterity, but you don't know how to take a screenshot on your Lenovo device. It's really frustrating when you want to take a screenshot of something interesting that you found on the internet but don't know-how.
It's not hard to take a screenshot on your computer or mobile device, but it can be tricky if you don't know. And what if you want to take a screenshot of a longer web page than your screen? Don't worry, friends. We're here to help.
This guide will show you how to screenshot on Lenovo laptop in just a few simple steps. Our guide will work for you whether you have a Lenovo laptop, Thinkpad, Chromebook, or another device. Our step-by-step instructions are easy to follow and make taking screenshots straightforward.
You won’t have any trouble capturing the images you need with this guide. We'll also show you some of the best screen recorders to make taking and editing screenshots easier. While, if the screenshot is not clear, you could use the DVD Fab Photo Enhancer AI to improve the quality of the picture. So, whether you're a beginner or an experienced screenshot taker, we have everything you need to know right here. Let's get started!
Part 1: How to Take a Screenshot on Lenovo Laptop?
If you just need to know how to screenshot on ThinkPad or Lenovo laptop, you can use the Windows screenshot tool.
- Take a screenshot of the whole screen
- Take a screenshot of an active window
- Take a custom screenshot
Take a Screenshot of the Whole Screen of the Lenovo Laptop
The simplest way to capture the entire screen on your Lenovo computer is to use one of these methods:
- To capture the entire screen, press and hold the PrtSc key.
- Press and hold the Windows logo key and the PrtSc key to capture the entire screen.
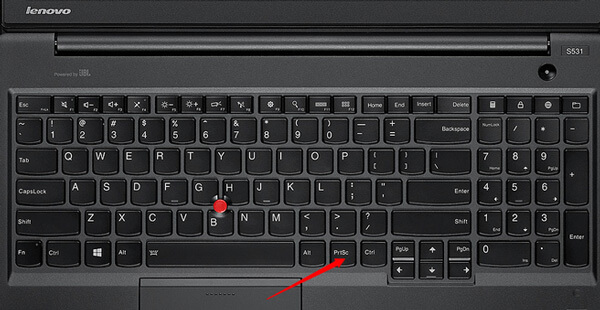
Press the PrtSc key to take a screenshot of the whole screen
- On your keyboard, press PrtSc. The complete current screen will be copied to your clipboard.
- Press the Windows logo key and type paint. In the list of search results, click and open the Paint software.
- To paste a screenshot into Paint, press Ctrl+V simultaneously on your keyboard.
- Once you have done that, press Ctrl and S to save the screenshot.
Press and hold the Windows logo key and the PrtSc key To capture the entire screen
- To take a screenshot of the entire screen on your Lenovo device, press and hold the Windows logo key and the PrtSc key simultaneously.
- The screenshot you've just taken will be saved in the "Pictures" folder. Open the "Pictures" folder and go to the "Screenshots" folder to see it. There, you'll find your screenshot. Otherwise, go to C: Users[Your Name]PicturesScreenshots to view this screenshot.
- You can also paste it into the Paint program to edit it.
How to Screenshot on Keyboard Keys of an Active Window
By following these steps, the active window is now captured and saved to your computer.
- To take a screenshot of an active window on your Lenovo computer, click anywhere on the window to make it the active window.
- On your keyboard, press Alt and PrtSc at the same time to take a screenshot of it.
- To paste the screenshot into the Paint program, press Ctrl and V simultaneously.
- Save the screenshot by pressing Ctrl and S at the same time.
Take a custom screenshot using Snip & Sketch
- To take a screenshot on a Lenovo laptop, Thinkpad, or another device, press the Windows key and Shift and S simultaneously. This will open the Snip & Sketch tool.
- You can then select one of the following options: Rectangular, Freeform or Fullscreen.
- Once you have selected your desired option, click and drag your mouse to take a screenshot of the selected area.
- A screenshot of that window will be saved to your clipboard. You may also open the notification to see your screenshot.
How to screenshot on Thinkpad using Snipping Tool:
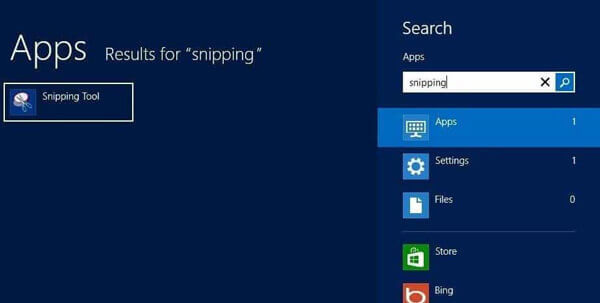
- On your keyboard, press the Windows logo key and type snip.
- Click Snipping Tool in the list of search results.
- On Snipping Tool, click New.
- Click and drag your mouse to select a certain area of your screen. Then release the mouse button.
- Click the Save Snip icon to save this custom screenshot in the pop-up window.
Part 2: How to Take a SS on a Chromebook?
Chromebooks don’t have a Print Screen button like Windows laptops, but there are several ways you can take screenshots on a Chromebook. We’ll show you how to take screenshots on a Chromebook using the keyboard, screenshot toolbar, or from a quick setting.
How to Screenshot on Keyboard keys:
You can take screenshots with the keyboard on a Chromebook. Just press Ctrl+ Shift+Show Windows to take a screenshot of the entire screen. You may also use Show Windows to capture a wide shot of your whole screen rather than a particular region or window. Simply press Ctrl+Show Windows to shoot a quick snap of your entire screen.
How to use the screenshot toolbar:
The Screen Capture toolbar lets you take shots and make movies of your computer's screen. The toggle on the left side switches between screenshots and videos. The buttons to the right of the toggle let you take a full-screen screenshot, a partial screenshot, or a screenshot of a specific window. These work for photos and video. The microphone can be turned on or off while recording your screen using the Settings button on the toolbar, making it simple to add narration to your captures.
How to take a ss on a Chromebook from a quick setting:
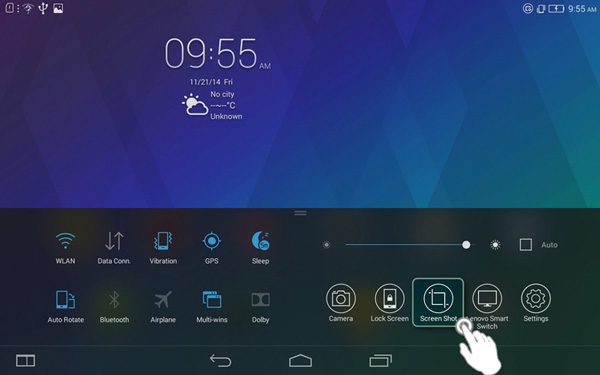
If you're using a Chromebook running Chrome OS 71 or newer, there's easy to take screenshots without using any keyboard shortcuts. Just swipe down from the top of the screen with two fingers to open the Quick Settings panel, and then click the screenshot button (it looks like a camera). This will save the screenshot to your Downloads folder.
Part 3: 3 Best Apps For Screenshot on Lenovo
DemoCreator Screen Recorder

Key Features:
- -Record your screen or a specific region
- -Edit your videos with basic video editing tools
- -Customize your videos with watermark, text, and voiceover
- -Affordable one-time purchase with no recurring fees
- -Share your screenshots on ThinkPad with friends and family.
DemoCreator screen recorder provides an easy way to screenshot on Lenovo, Thinkpad, and other devices. You can take screenshots of active windows, full screen, or custom regions with this software. The software also provides basic video editing tools to help you edit your screenshots and videos. This software provides a wide range of tools for users to customize their videos, including background music, watermark, text, and voiceover. It is also one of the most affordable laptop screen recorders. It is a one-time purchase with no recurring fees. This makes it a great choice for people who want to create videos on a budget.
It comes with three recording modes, which you can choose according to your own needs. The default mode, Desktop Recording Mode, is great for recording your entire screen or a specific region on your screen. If you want to record a video call or tutorial, the webcam Recording Mode is perfect for you. And the last mode, Game Recording Mode, is designed for gamers who want to record their gameplay videos.
Overall, DemoCreator is a great choice for people who want to take screenshots on their Lenovo laptops. It provides an easy-to-use interface and a wide range of features to help you customize your videos. And it is very affordable, making it a great choice for people on a budget. You can even easily share screenshots on ThinkPad with friends and family.
Below are the steps to record the screen on your laptop in DemoCreator:
- Launch DemoCreator and choose the recording mode that you want to use.
- Select the screen area that you want to record.
- Choose the audio input source and turn the on/off system sound and microphone.
- Click on the REC button to start recording your screen.
- To stop recording, click on the Stop button or press the F10 key.
Now you know how to use DemoCreator to record your screen on your laptop. Try it today and see how easy it is to create professional videos with this powerful screen recorder.
|
Pros |
Cons |
|---|---|
|
There is no specific time for video recording, record as much as you want. |
Inability to record mobile devices is a drawback of this software. |
|
Plentiful text and element effects. |
|
|
Provides best screenshot for Lenovo laptop |
|
|
Easy to use. |
Blu-ray Master Screen Recorder
Key Features:
- Easy to use.
- Provides a variety of annotation tools.
- Customizable appearance of annotations.
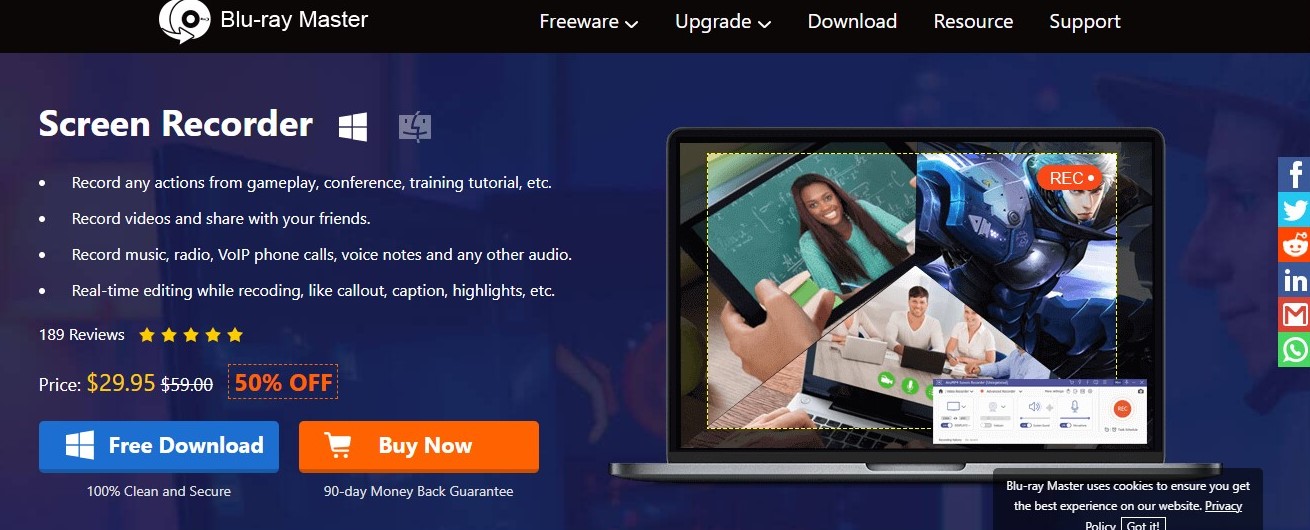
Blu-ray Master Screen Recorder is a great tool for capturing any action on your screen. It provides a free solution to take screenshots on your Lenovo laptop and Chromebook. It is an advanced built-in annotation tool that provides various annotation tools to help you annotate your screenshots. You can add drawings, text, and more. Additionally, you can customize the appearance of the annotations to match your needs.
You can record videos and share them with your friends or use the built-in annotation tool to add drawings and captions. You can also create an animated GIF image with a series of images. Additionally, you can customize the photo format, capture hotkeys, and tweak the area.
It can also record your screen in high-quality video formats. This makes it a great option for creating tutorial videos or capturing gaming footage. The software is simple and provides all the features you need to get the most out of your screenshots. Give it a try today and see how it can help you capture your screen.
To capture screenshots, screen videos, and audio files with the desired area, first, open Blu-ray Master Screen Recorder. Then use the mouse to select the desired area on the screen to capture. You can also use keyboard shortcuts to capture specific areas of the screen.
Overall, Blu-ray Master Screen Recorder is an excellent tool for capturing screenshots, screen videos, and audio files. It provides a variety of annotation tools to help you annotate your screenshots. You can also customize the appearance of the annotations to match your needs. It is simple and provides all the features you need to get the most out of your screenshots.
|
Pros |
Cons |
|---|---|
|
Take screenshots of your Lenovo laptop, Chromebook with great ease. |
It does not support live streaming. |
|
Record videos and share them with your friends. |
|
|
It is an annotation tool to help you annotate your screenshots. |
|
|
You can add drawing text, and more on your screenshot. |
Bandicam Screen Recorder For Screenshot on Lenovo
Key Features:
- -Record your computer screen or audio input
- Choose from various recording modes, including full screen, window, region, or a webcam
- -Schedule recordings in advance
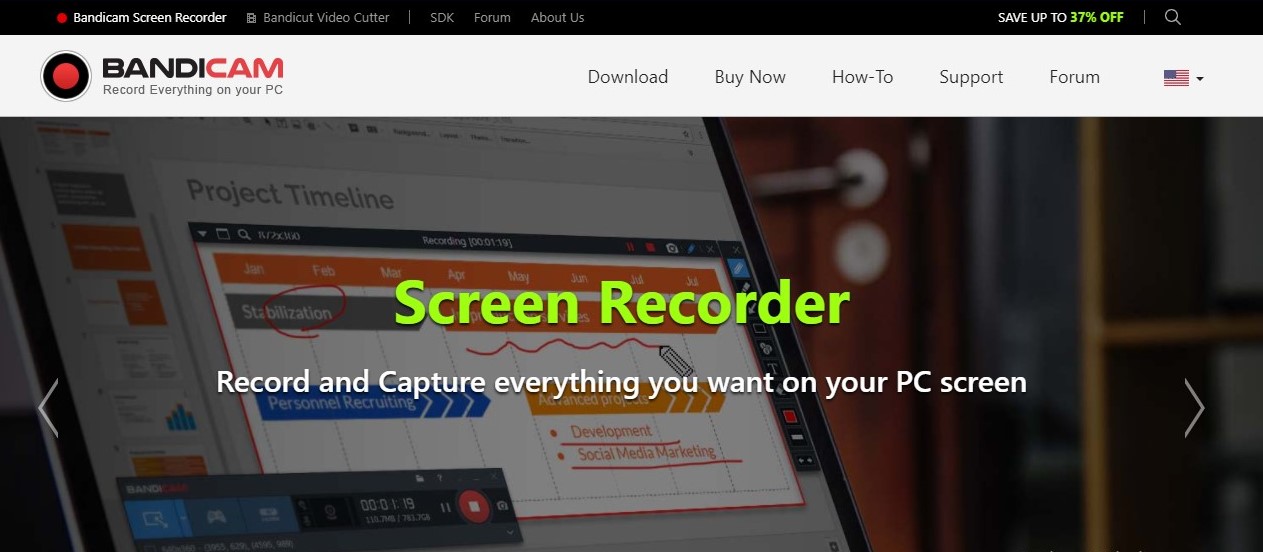
Bandicam is a screen recording program that lets you record your Lenovo screen or audio input. You can choose to record in diverse modes, including full screen, window, region, or webcam. You can also record audio input from your microphone or other sources. Additionally, Bandicam can be used to schedule recordings in advance. You can add mouse click effects, dual record monitors, and insert text/images/logos into your recordings.
It's perfect for recording short gaming sessions, tutorials, or just making a quick video to share with friends. It is software that will help you to carry out a screen capture with a high compression ratio. This means that the size of the file generated by Bandicam will be smaller compared to other software available in the market.
It may also be used to record an area of your PC screen or a game that uses the DirectX/OpenGL/Vulkan graphics APIs. One of the advantages of using Bandicam is that it can record at high speed. As a result, you will be able to save your screen captures in MP4 or AVI format with small file sizes.
Overall, Bandicam is an excellent screen recorder and provides a screenshot on Lenovo. If you need to record your computer screen or audio input, Bandicam is a great option.
|
Pros |
Cons |
|---|---|
|
It provides the best screenshot for Lenovo. |
The free version has a watermark at the top of the video. |
|
Easy to use. |
|
|
24 hours of recording and screenshots allow. |
|
|
It also records 4k ultra HD video |
Part 4: FAQs
Q: The keyboard shortcut for taking a screenshot on my Lenovo laptop isn't working. What do I do?
A: First, make sure that you're pressing the Alt and PrtSc keys simultaneously. If that doesn't work, try using the Snipping Tool or any other software that allows you to take screenshots.
Q: Where do my screenshots go on a Lenovo laptop?
A: Your screenshots will be saved in the Pictures folder by default. However, you can change this location by opening the Snipping Tool and selecting the Save As button. You can also choose to save screenshots as PNG or JPEG files.
The Bottom Line
Finally, it is important to note that there are several other ways you can take screenshots on your Lenovo laptop. If the keyboard shortcut isn’t working for you, try using the Snipping Tool or any software that allows screen captures. Moreover, if the screenshot is not clear, you could use the DVDFab Photo Enhancer AI to improve the quality of the picture. What's more, DVDFab Enlarger AI is a good tool as a video upscaler to help you to get AI upscaling video.
The above is also the three best software for screenshot on Lenovo. Choose the one that fits your need and start recording your screen today! So, what are you waiting for? Pick the best software for you and start capturing your screen today. Hopefully, this “How to Screenshot on Lenovo Laptop” guide will help you get started.
Thanks for reading!


